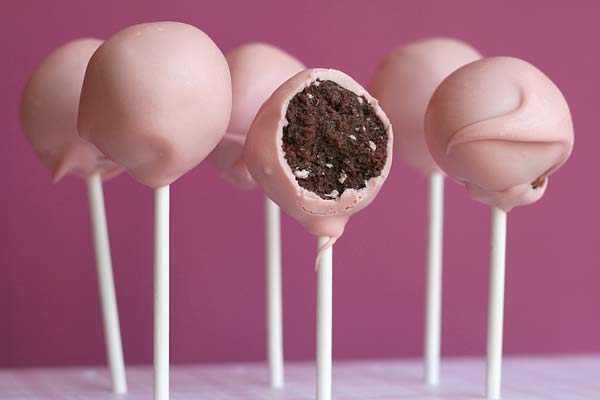
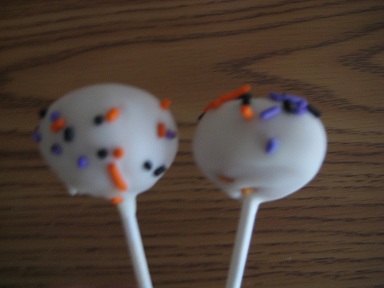
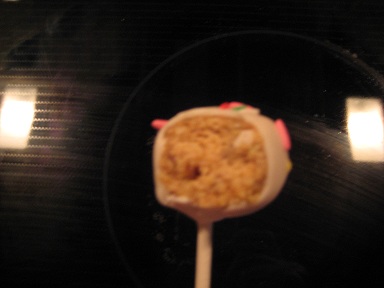
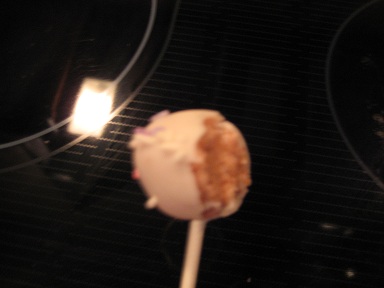
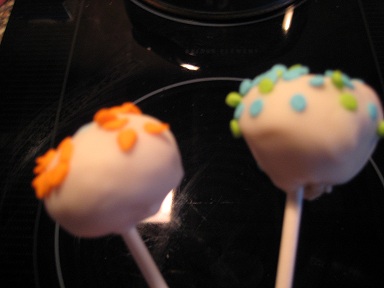
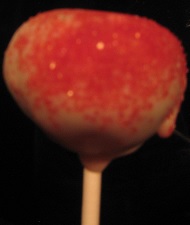
The latest craze in bakeries are cake pops (as seen in the photo above). What I find most amazing about all this is that the ingredients have been around and used in most American households for decades, just not mixed and presented as such. In any case, gourmet boutique bakeries have been sprouting all across America the past few years, and despite the recession, everyday bakers such as 'Bakerella' have become wealthy by selling books on cake pops, appearing in magazines sold at grocery store check-out counters, and featured in how-to videos on YouTube.
America also seems to have fallen in love with cupcakes...just look at how many shows are dedicated towards baking as seen on the Food Network, including Cupcake Wars, which features weekly battles between cupcake entrepreneurs from all over the country. In particular, America has had a craving for red velvet cake, which, without the cream cheese, tastes like nothing. Yet many couples in the past few years have opted for cupcake displays at their wedding as opposed to the traditional tiered cake.
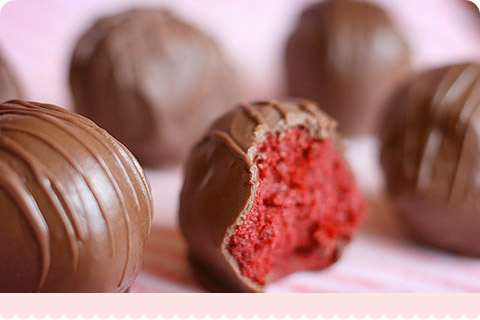
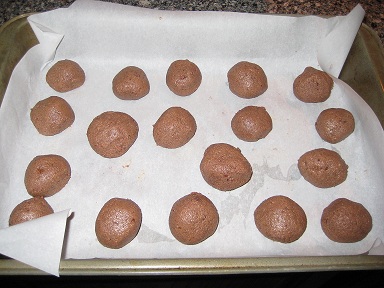
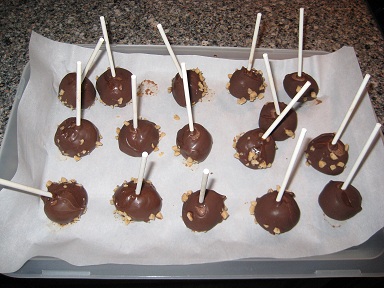
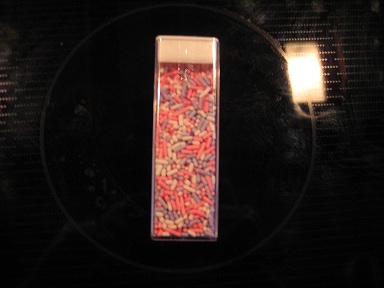
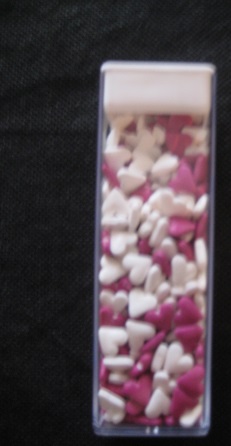
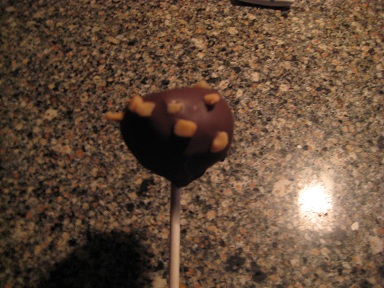
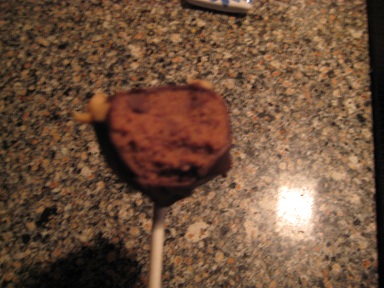
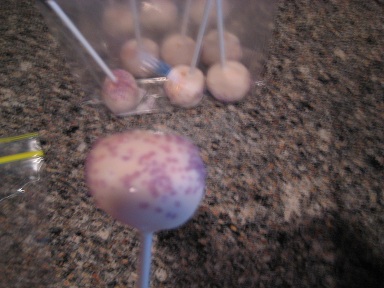
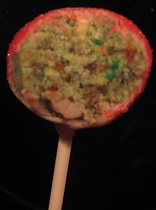
Pictured above are cake bites, which essentially are cake pops but without the lollipop sticks. Cake pops and cake bites finally made their way to Starbucks not too long ago, for $1.50 + tax...I say 'finally' because my wife discovered these early on & made the suggestion to some local entrepreneurs of such boutique gourmet bakeries selling mostly cake pops & cake bites that they should consider Starbucks (as shareholders we frequent Starbucks but aside from the occasional location that sold black & white cookies, I always felt the food selection at Starbucks was by far their biggest loss of potential).
Alas, I am going to teach you how to make your very own cake pops (which again, are the same as cake bites)...and although I learned this info from reading Bakerella's book on Cake Pops which sells for $19.95 + tax/shipping, at this stage of the game there is nothing proprietary about what I am disclosing here...so why take my advice? Because it is the same as THE 'expert' on cake pops but with some added advice based on my experience...so, simplified, free, and easy to read!
In short, cake pops/bites is regular cake that has been crumbled and mixed with the same frosting you put on it, then rolled by hand into balls, briefly chilled in a freezer, then dipped in some flavor/color of melted coating (the kind that hardens once it cools so that you get an outer "shell"). Sounds easy?
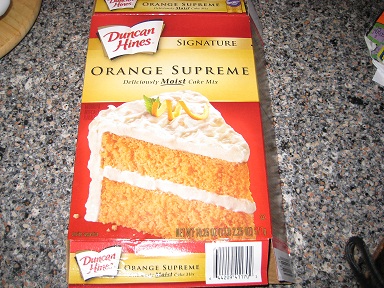
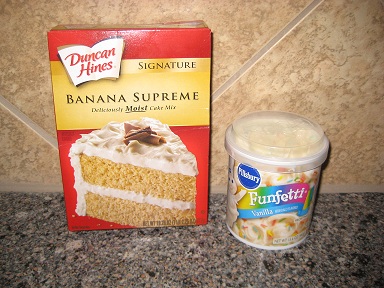
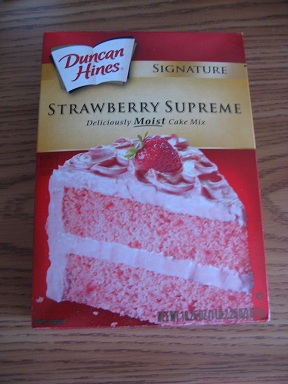
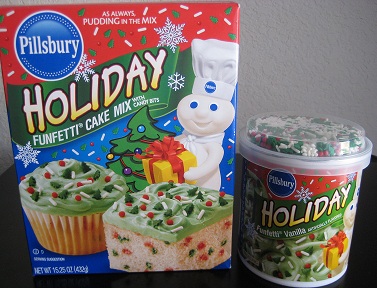
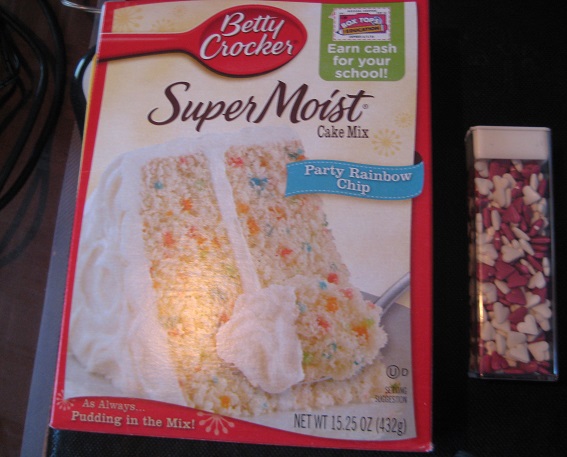
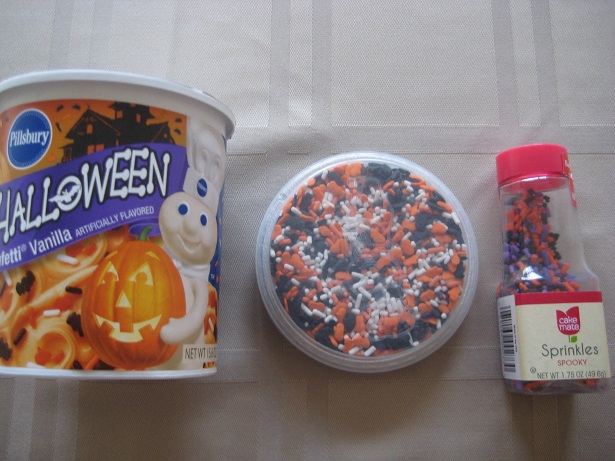
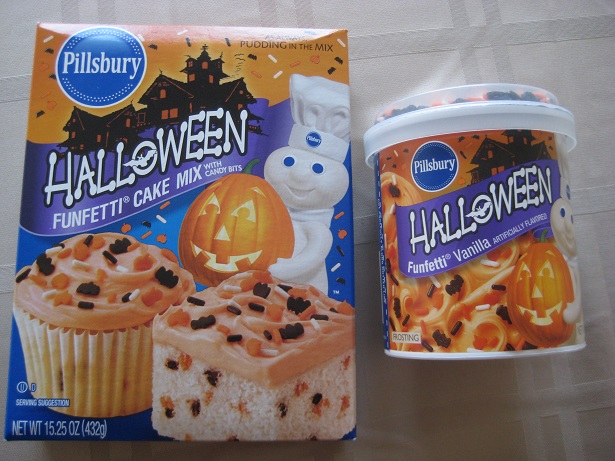
So let's take a look at some ingredients & tools you will need:
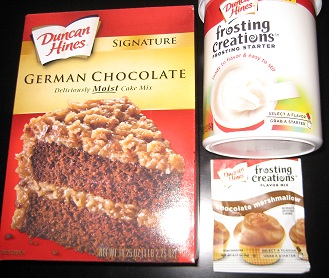
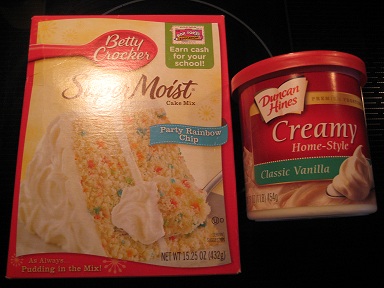
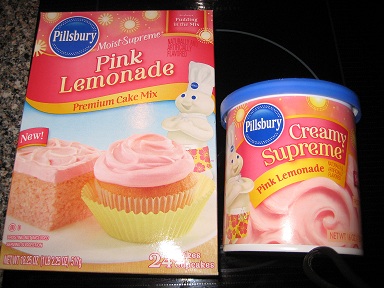
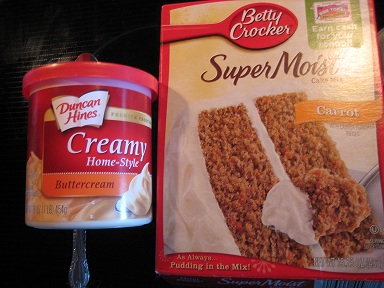
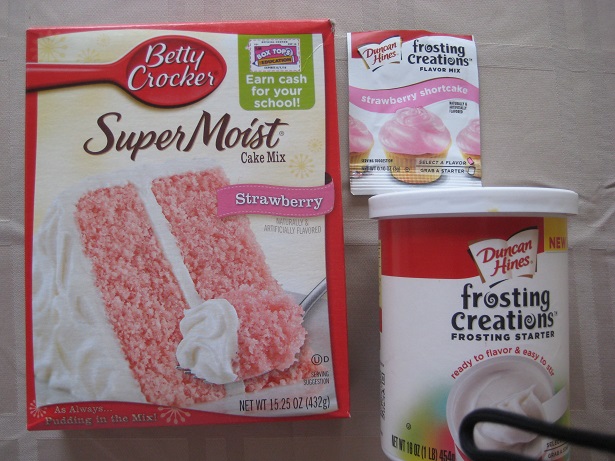
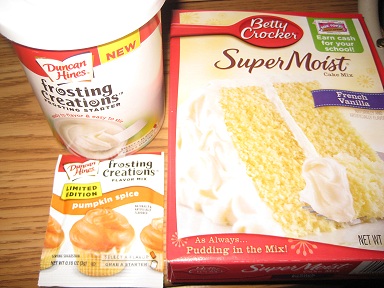

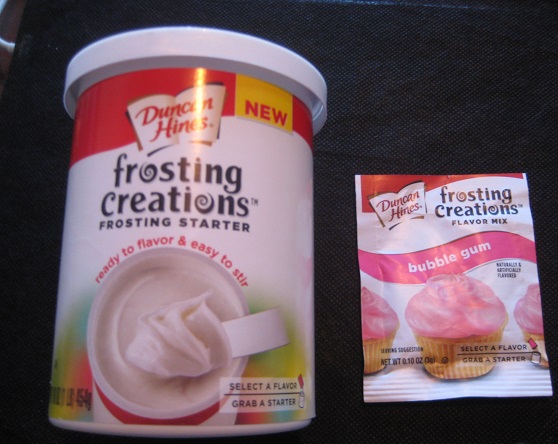


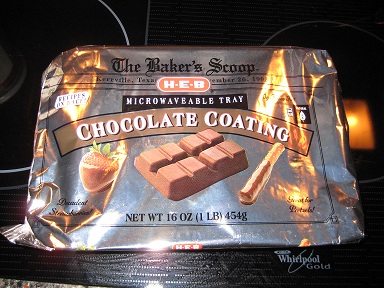
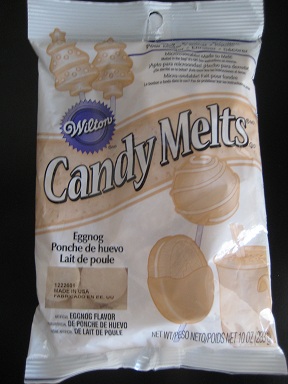
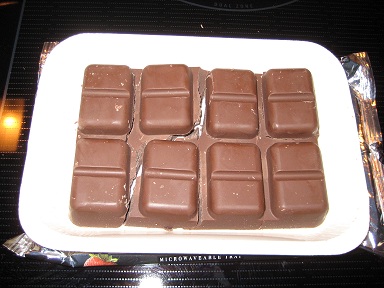
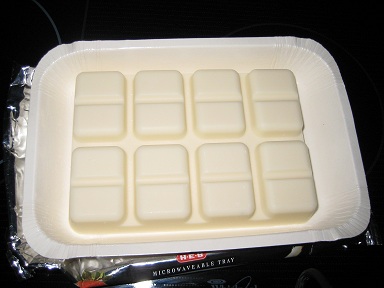
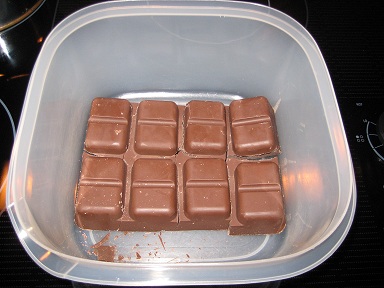
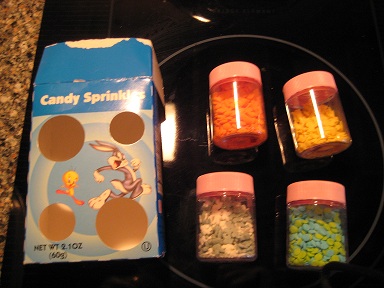
Pictured above is both chocolate as well as vanilla 'bark' which can be found in the baking aisle at your local grocery store...it comes in various flavors and brands, such as vanilla or white chocolate, and this ingredient serves as the outer layer of the cake pop. Recall that Michael's (and even Wal*Mart's arts & craft section) sells decorating ingredients, special tools for decorating and displaying...but most importantly, they sell various packages of baking chips: The 'bark' that gets metled to coat the outside of the cake bites. Michael's sells these in a variety of colors, so again, think about what you want the final product to look like! However, most of these colors are still vanilla in flavor. If you are still confused about 'bark' or 'baking chips', just know that these are either large square chunks of chocolate or round vanilla 'chips' that are used to be melted in fondue pots. Just know that per batch of cake pops, you will need 16 oz. (1 lb.) of such bark/coating/chips, yet you will likely throw the rest away if it comes in a larger package.
Alright...so now you have the ingredients, don't you? Go ahead and bake the cake according to the instructions on its package...however:
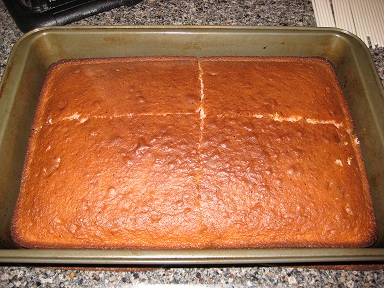
Use only a 13x9 inch pan (just one), that you have sprayed with Pam or whatever. I also suggest baking for the minimum time...for example, if it says to bake for 32-36 minutes, do no more than 32 minutes--you will not need to check with a toothpick--it's done! Trust me...
While the cake is baking, you can do some clean-up: Clean-out the bowl you used to mix the cake, water, oil & eggs...this bowl should be deep...I find that mixing the cake batter with eggs, water, & oil is easier to pour into the pan & less messy and is the best way to completely submerge the cake balls, although that step comes later on...
When the cake is done, let it cool...at this point you can just go do something else.
Now, use the butter knife to cut the cake into 4 large pieces (a horizontal & a vertical cut). Pick up one of the four pieces: I find that the edges are "crusty" therefore I tear them off & eat them immediately.
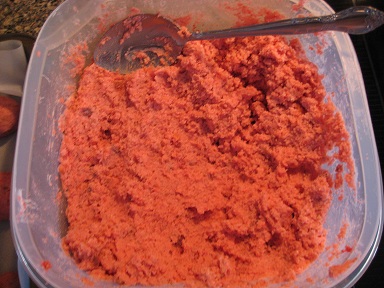
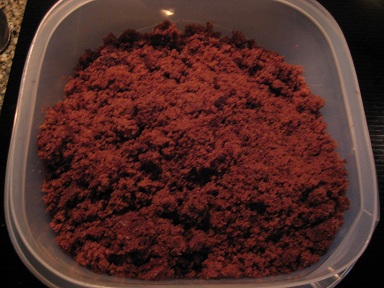
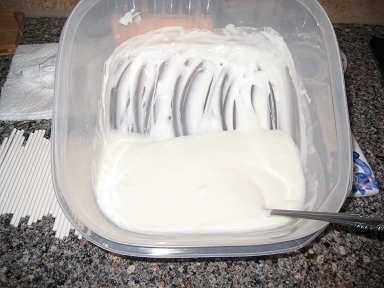
Make sure your hands are clean! Using the bowl, crumble each of the four large pieces of cake over the now clean bowl, not with a fork and not by mashing it with your fingers, just using your hands to break them apart into crumbs. Mashing together implies mushiness, not crumbs.
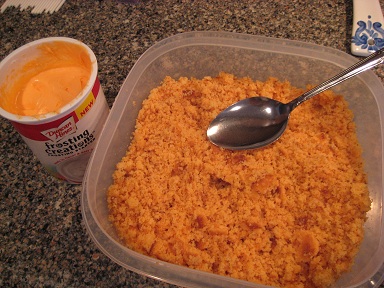
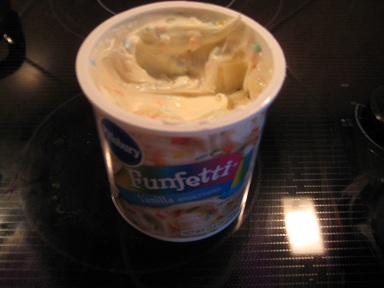
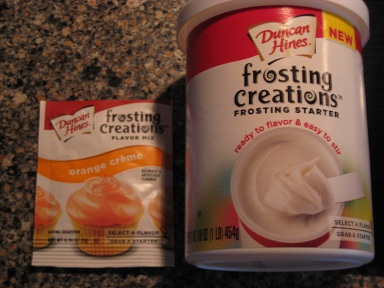
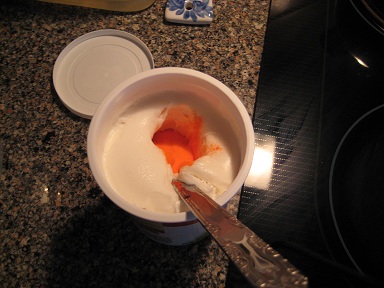
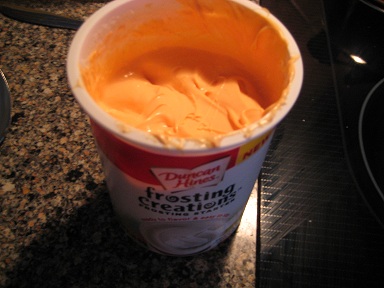
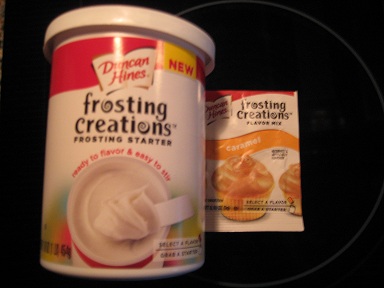
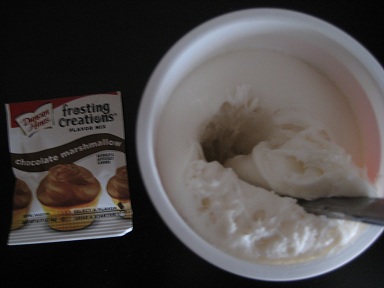
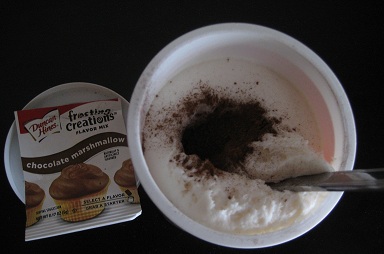
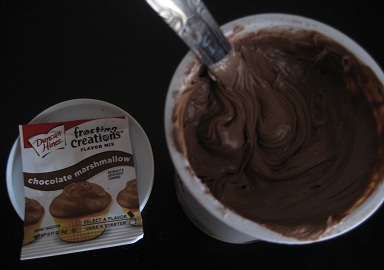
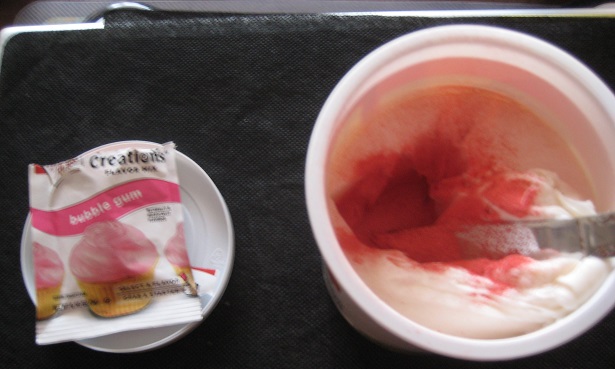
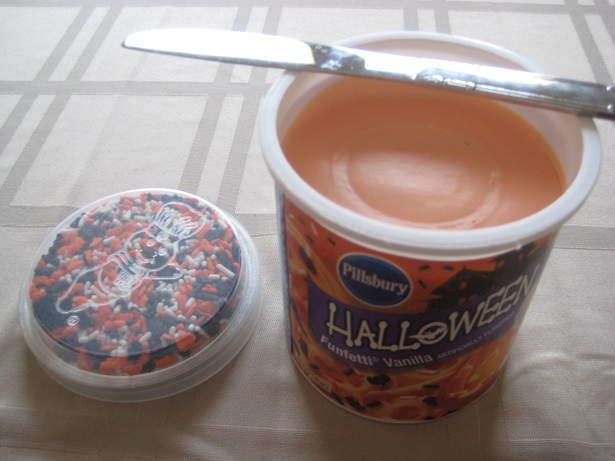
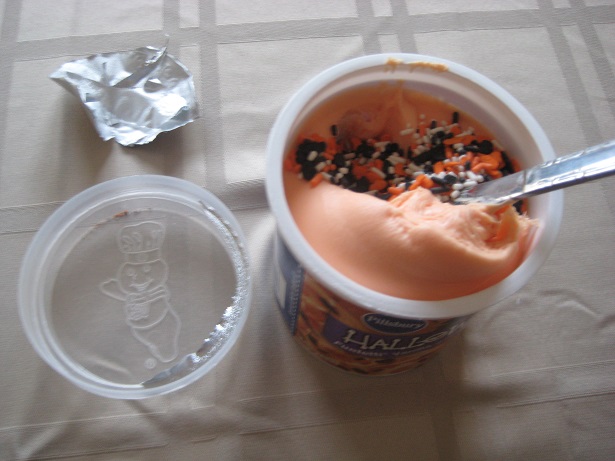
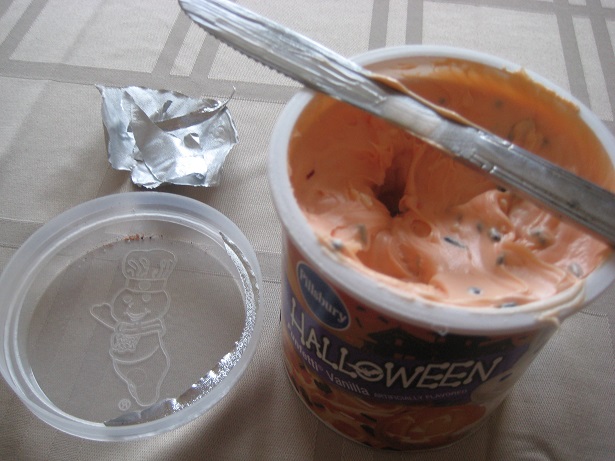
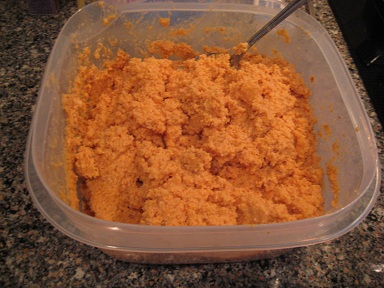
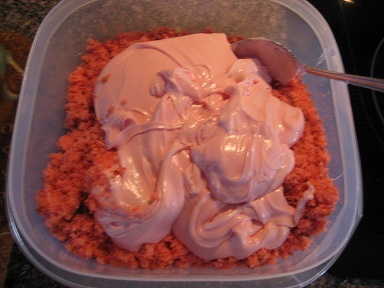
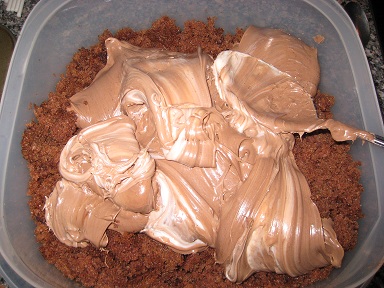
Using the tablespoon, scoop out all of the frosting you chose into the cake crumbs (in the bowl). Mix well...
You will need to cover 3 baking sheets/pans with either parchment paper or wax paper: I use the same 13x9 inch baking pan that the cake was in, still 'dirty' from the cake but now with a sheet of parchment paper inside...
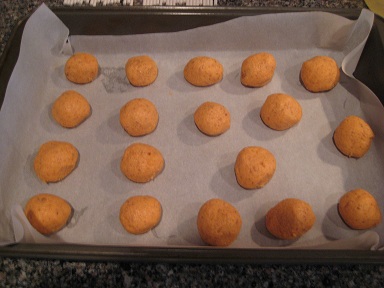
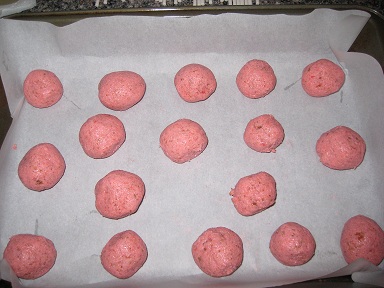
If your hands are clean, you will now make the cake balls by grabbing a small handful of the crumbled cake & frosting mix and rolling it between the palms of your hands to form balls (like making meatballs or matzo-balls): I suggest placing them directly onto the parchment paper-covered baking pans (no spray is needed), starting in the corners to weight-down the parchment paper from curling...you should be able to form similar-size cake balls and space them apart to fit approx. 16 per baking pan.
As soon as a pan has about 16 cake balls, make room in your freezer for them to go in--they can go on top of something but never under something, so shuffle some freezer items around to make room! Once all 3 baking pans (or approx. 4 dozen cake balls) are done, set a timer for at least 15 minutes but no more than 20 minutes...during this time you should clean out that bowl because you are going to need it for the next step:
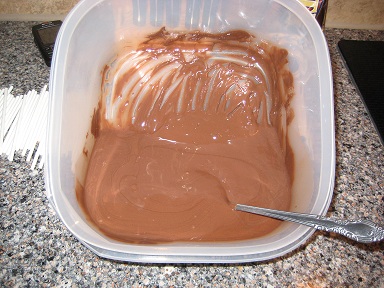
At this time, you should put at least 1 teaspoon of vegetable oil in the melted bark-coating, just to thin it out and mix well. Take one pan of the cake balls out at a time and make sure you have all 50 lollipop sticks ready: Here we go!
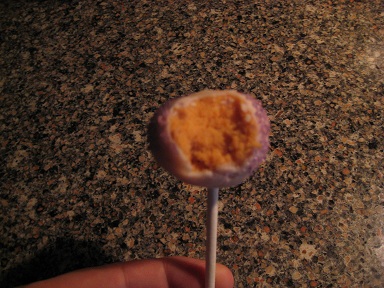
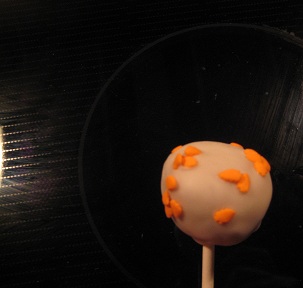
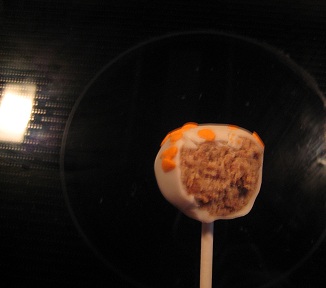
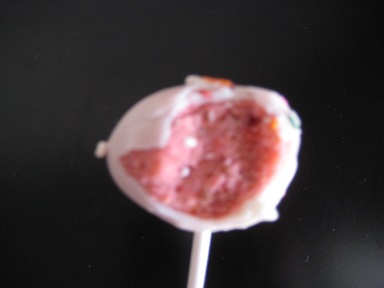
Begin by dipping the tip of a lollipop stick in the melted coating and stick it about half-way in a cake ball, then submerge the entire cake ball into the melted bark...if it does not cover the entire ball then you will need to TILT the cake ball in 4 different directions to ensure all sides get ample coating of the melted bark and then take it out--this process should not take more than a few seconds or your cake ball will fall apart into the melted coating!
Tip: Tilt, never twist the cake pop while inside the bowl with melted bark-coating, as twirling/rotating/twisting with the lollipop stick will cause it to come out of the cake ball, whereas tilting north, south, east, west gets enough coating that once outside the bowl (but held above it by the lollipop stick), allows you to turn the cake pop for the bark to finish coating all the cake...this step does take up to a minute per cake pop, as you want to make sure the coating has covered all parts of the cake & is 'dry' before placing it 'upside-down' (lollipop stick up) back onto the parchment paper.
TIP:
Bakerella suggests buying blocks of styrofoam from Michael's, and then sticking the cake pops in here to allow any further dripping to occur (also great for display later), but you do not have to:
If the coating is not dry when you place the cake pop back onto the parchment paper, then what will happen is that part of the cake pop (the top) will become flat, as any un-cooled coating will pool around the base of the now upside-down pop, so:
Dip the tip of the lollipop stick in the melted coating, stick half-way into the well-chilled cake ball, drop as far down into the coating as you can (trying to completely submerge the cake ball), tilt in all directions, pull out, then
allow to drip down the cake pop, allowing it to both coat & cool as you hold it above the bowl...if you need to, use the teaspoon used to stir the melted coating and carefully drop some extra coating onto un-coated parts of the cake ball, allowing any extra to drip back into the bowl.
As soon as one tray is done, place it into your refrigerator--following the rule of placing it on top of other items but
never under...and then take another tray out of the freezer and continue this process...
The cake pops will only need to cool for about half-an-hour or so...at that point I suggest taking them out of the
refrigerator: You can place a couple cake pops or so in zip-lock sandwich bags, or wrapping no more than 6 at a time in clear wrap (and then back to the refrigerator), or...
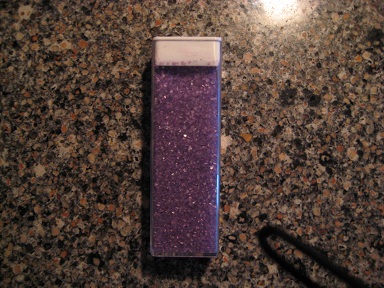
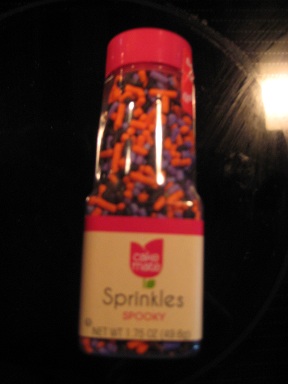
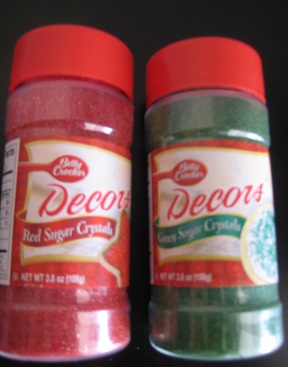
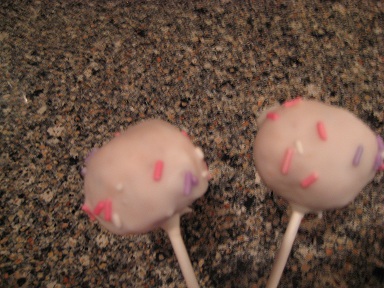
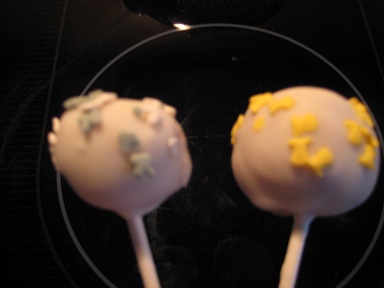
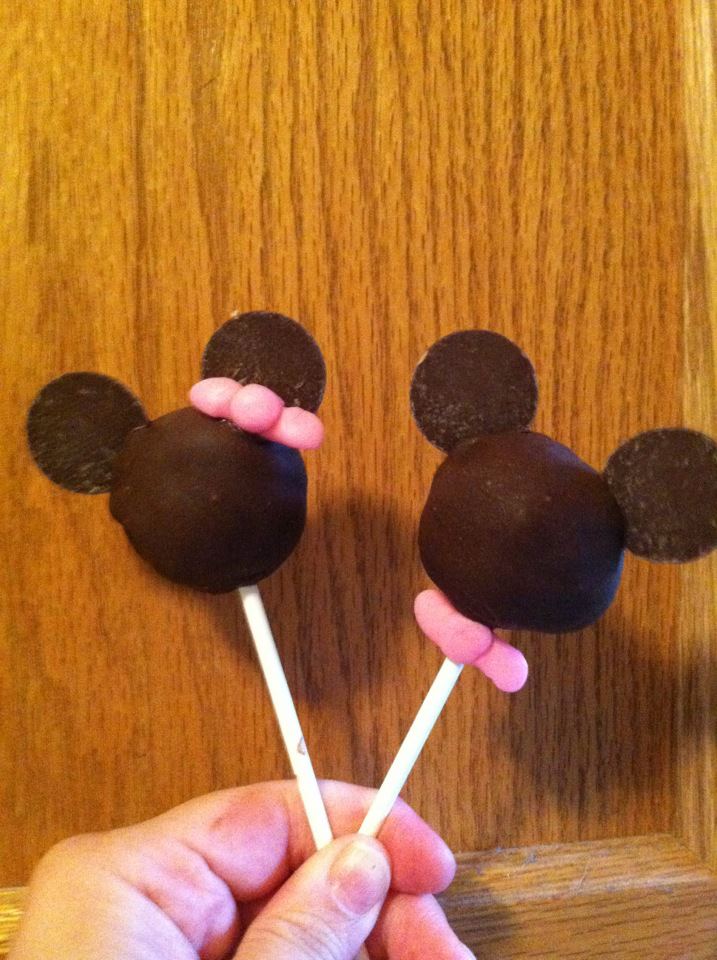
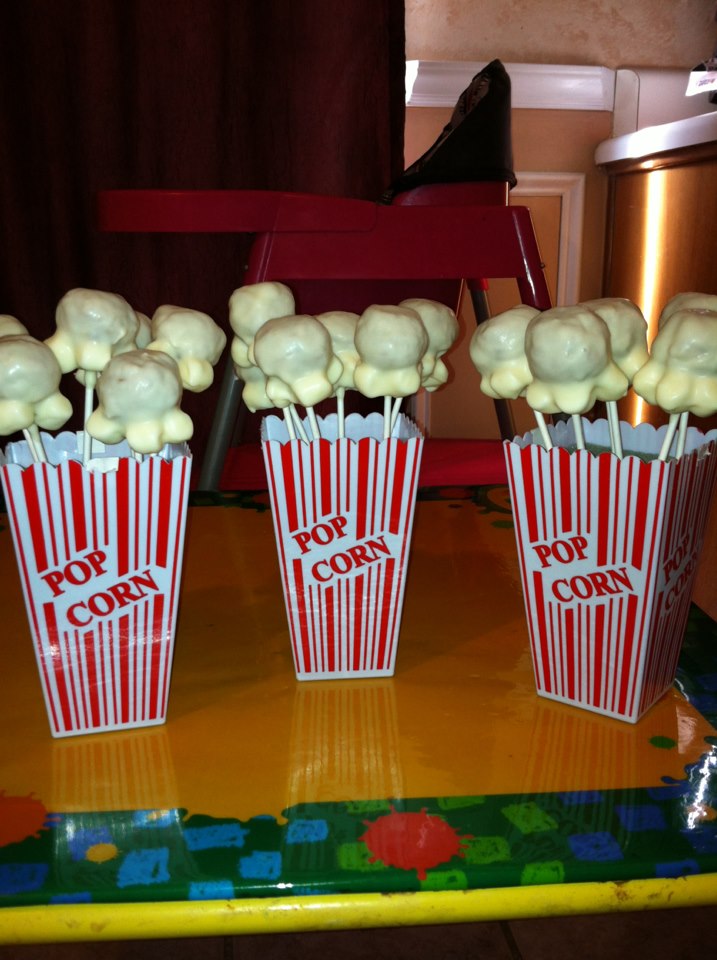
If these are for cake bites or for sale, I recommend buying special display paper to place these on, or placing them in paper boxes, wrapping in colored foil, or individually decorating with icing using decorative tips to draw faces or drizzling with contrasting color of icing...Michael's even sells 'edible eyeballs' for various ideas!

So, there you have it...not many ingredients to make 4 dozen cake pops/bites in about 3 hours or so including prep & clean-up! Total cost: Less than $10! If you sold these for $1.50 like Starbucks does, then this would yield a profit of approx. $62/batch! (That's over $20/hour & you get to work from home...if you made this a business, you could tax-deduct that $10/batch! Who would your customers be? Think of local school cafeterias, sporting events...etc.)